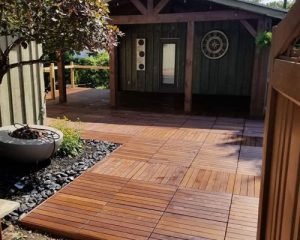
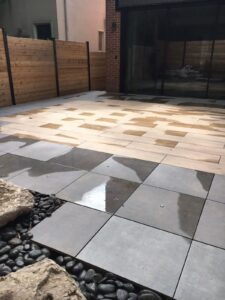
A good patio makeover starts with a plan, not a shopping cart. Most backyards around Toronto already have a usable base: a concrete slab, an interlock patio or a tired wooden deck. You usually don’t have to rip it out. Work through these six steps in order and you end up with a patio that looks designed and still works after a Toronto winter:
- Assess what you have: drainage, sun, wind and the surface underneath.
- Decide how you’ll use it: one main use, then the extras.
- Plan the layout: zones and walkway clearances on a scale sketch.
- Fix the base: repair, level or simply cover it.
- Choose the floor: the material and pattern that set the whole look.
- Finish and protect it: shade, lighting, plants and a winter plan.
Each step below has a short checklist, plus the City of Toronto rules that apply. If you already know you want a new floor over your existing patio, see our deck and patio flooring installation page or book a free in-home consultation.
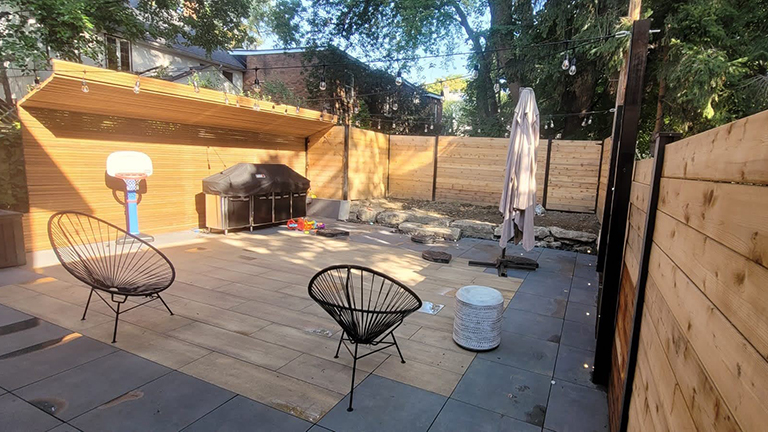
Before you start: your patio makeover checklist
Answer these before you look at furniture or flooring samples. They decide what is possible and what it costs.
- Approvals. In Toronto, an uncovered deck no more than 60 cm (24 inches) above the adjacent finished grade generally doesn’t need a building permit; higher than that, it does. Enclosing an existing deck, porch or patio of any size needs one. Even when no permit is needed, the work must comply with the Zoning By-law (City of Toronto). Outside Toronto, check with your city’s building department. Townhouse or condo patio? Ask your property manager first.
- Measurements. Length and width of the patio, the height of the step at your door, and any steps down to the yard. Note drains, downspouts, gas lines and hose bibs.
- The surface. Concrete, interlock, old decking, or grass and soil? This changes your options more than anything else (Step 1).
- Budget questions. What is the most you want to spend? Is the floor, shade or furniture the priority? Do you want to do it once and be done, or in stages over two seasons?
- Use. Who uses the patio, and for what: dinners, kids, a dog, a fire table, a quiet coffee?
Step 1: Assess what you have
Walk the patio after a rainstorm and at a few times of day. You are looking for three things: water, sun and the condition of the surface.
Water and slope
Water should run away from the house, never toward it. The City of Toronto advises making sure the grading around your home “slopes away from the foundation wall” and that disconnected downspouts drain properly, “ideally two metres from your foundation walls” (City of Toronto, preventing basement flooding). If water pools against the wall, fix that first. A new floor will not fix a drainage problem.
Sun, wind and view
Note where the sun is at dinner time, where the wind comes from, and what you see from the kitchen window. The view from inside matters, because you look at your patio far more often than you sit on it, especially from November to April.
The surface underneath
- Concrete slab: the best starting point. Cracks and stains can be covered if the slab is solid and drains. Skyscapes describes its wood deck tiles as made for this: “Transform your washed out and cracked concrete areas” (exotic hardwood deck tiles).
- Interlock: also a good base, as long as the pavers haven’t heaved or sunk badly.
- Old wooden deck: can often be covered if the frame is sound. Soft or rotten boards have to be fixed first.
- Grass, dirt or sand: this needs a proper base before any tile floor. Skyscapes’ own FAQ is clear that its deck tiles “are not suitable” on grass, dirt or sand, because the system “does not work without a solid floor with a proper slope for drainage” (Skyscapes FAQ).
Step 1 checklist: water drains away from the house · downspouts discharge away from the patio · sun and shade noted at the times you’ll use it · surface type and condition written down.
Step 2: Decide how you’ll use the patio
Patio design ideas go wrong when the space tries to do everything. Pick one main use and one or two secondary ones, then rank them.
- Dining: table and chairs, close to the kitchen door.
- Lounging: sofa or sectional, ideally in the afternoon sun or under shade.
- Cooking: grill or outdoor kitchen, with room to work safely.
- Fire: fire table or bowl with seating around it.
- Kids and pets: open floor or a turf area.
Spend first on the parts that are hard to change later: the floor and any fixed shade. Furniture, lights and planters are easy to add next season.
Step 2 checklist: main use chosen · secondary uses ranked · rough budget split between floor, shade and furnishing.
Step 3: Plan the patio layout and zones
Sketch the patio to scale on graph paper (one square per foot works well) and draw each zone. These clearances from a Houzz guide to outdoor furniture layouts (most from designer Amy Martin) are a reliable starting point:
| Item | Space to plan |
|---|---|
| Main walkway (door to yard) | 3 ft minimum; 4 ft or more preferred |
| Light-use path | 2 to 2.5 ft |
| Dining table | Table with chairs tucked in, plus 3 ft on every side |
| Coffee table to sofa or chairs | 24 in |
| Front of grill to other furniture | 4 ft |
| Fire pit to seating | 18 to 24 in |
For a fire table or grill, the manufacturer’s clearances come first. Keep the route from the back door clear, and keep the grill away from the main walkway. If the patio is small, a bistro set or a corner sofa often works better than a full dining set.
Not sure how the zones will look? Skyscapes offers a rendering process that goes from a mood board to a drawing of your space with your flooring choices applied, before anything is installed.
Step 3 checklist: scale sketch done · walkways at least 3 ft · clearance around dining and grill · door route clear.
Already know your layout? Book a free in-home consultation and we’ll bring samples to see against your space.
Step 4: Fix the base: repair, level or cover it
This is where most patio makeovers save money, or waste it. A base that is solid and drains well can usually stay where it is.
- Cracked but solid concrete: can usually be covered as is. A floating tile floor hides small cracks and stains.
- Low spots or uneven concrete: may need patching or levelling first. Our guide to exterior concrete levelling compound covers the options.
- Heaved interlock: reset the worst pavers so the surface is firm and even.
- Old deck: replace soft boards and check the frame before covering it.
- Steps and doors: measure the height from the patio to your door sill. A thick new floor can catch the bottom of a door or make the first step uneven.
Keep the slope. The goal is a surface that is firm and even but still sheds water away from the house.
Step 4 checklist: no soft spots · no pooling · door clearance measured · step heights measured.
Step 5: Choose the floor (the foundation of the design)
You plan the floor late, but it goes in first, and it sets the look of everything on top of it. Skyscapes floors can go “right on top of existing decking, concrete surfaces, interlocking bricks”, with “No demolition needed”, a “Low profile (⅞ inch total rise)”, and they “Can be fastened to stairs” (Skyscapes deck and patio flooring). That low rise is what helps with door sills and steps from Step 4.

Compare the main options
| Floor | Look | Care | Good to know |
|---|---|---|---|
| Porcelain pavers | Stone, concrete or wood-look | Occasional cleaning | Skyscapes describes them as “Stain, scratch, and fade resistant” with “No mortar or adhesive required” |
| Composite deck tiles | Wood grain | Occasional cleaning | Interlocking and removable; Skyscapes calls them “slip resistant deck tiles” |
| Exotic hardwood tiles or ipe pavers | Real wood: ipe, garapa, curupay | Optional oiling to keep the colour | Skyscapes recommends oiling “no more than once a year” if you want to keep the colour (FAQ) |
| Artificial turf | Green, soft | Occasional cleaning | Skyscapes lists it as “Wonderful for pets”; pair with a hard surface for dining |
Design moves that make a floor look custom
- Mix two materials. A grey porcelain field with a wood-look border, or a wood-look strip that marks the dining zone.
- Change the pattern by zone. Staggered or herringbone under the lounge, straight lay along the walkway.
- Edge with stone. A strip of decorative pebbles softens the line between the patio and the garden.
- Think about grip. Patios get wet and icy. If slip resistance matters to you, see our guide to non-slip outdoor patio tiles and ask to see textured finishes at your consultation.
For more looks and materials, browse our patio flooring ideas. Working to a tight budget? Start with our cheap backyard patio floor ideas.
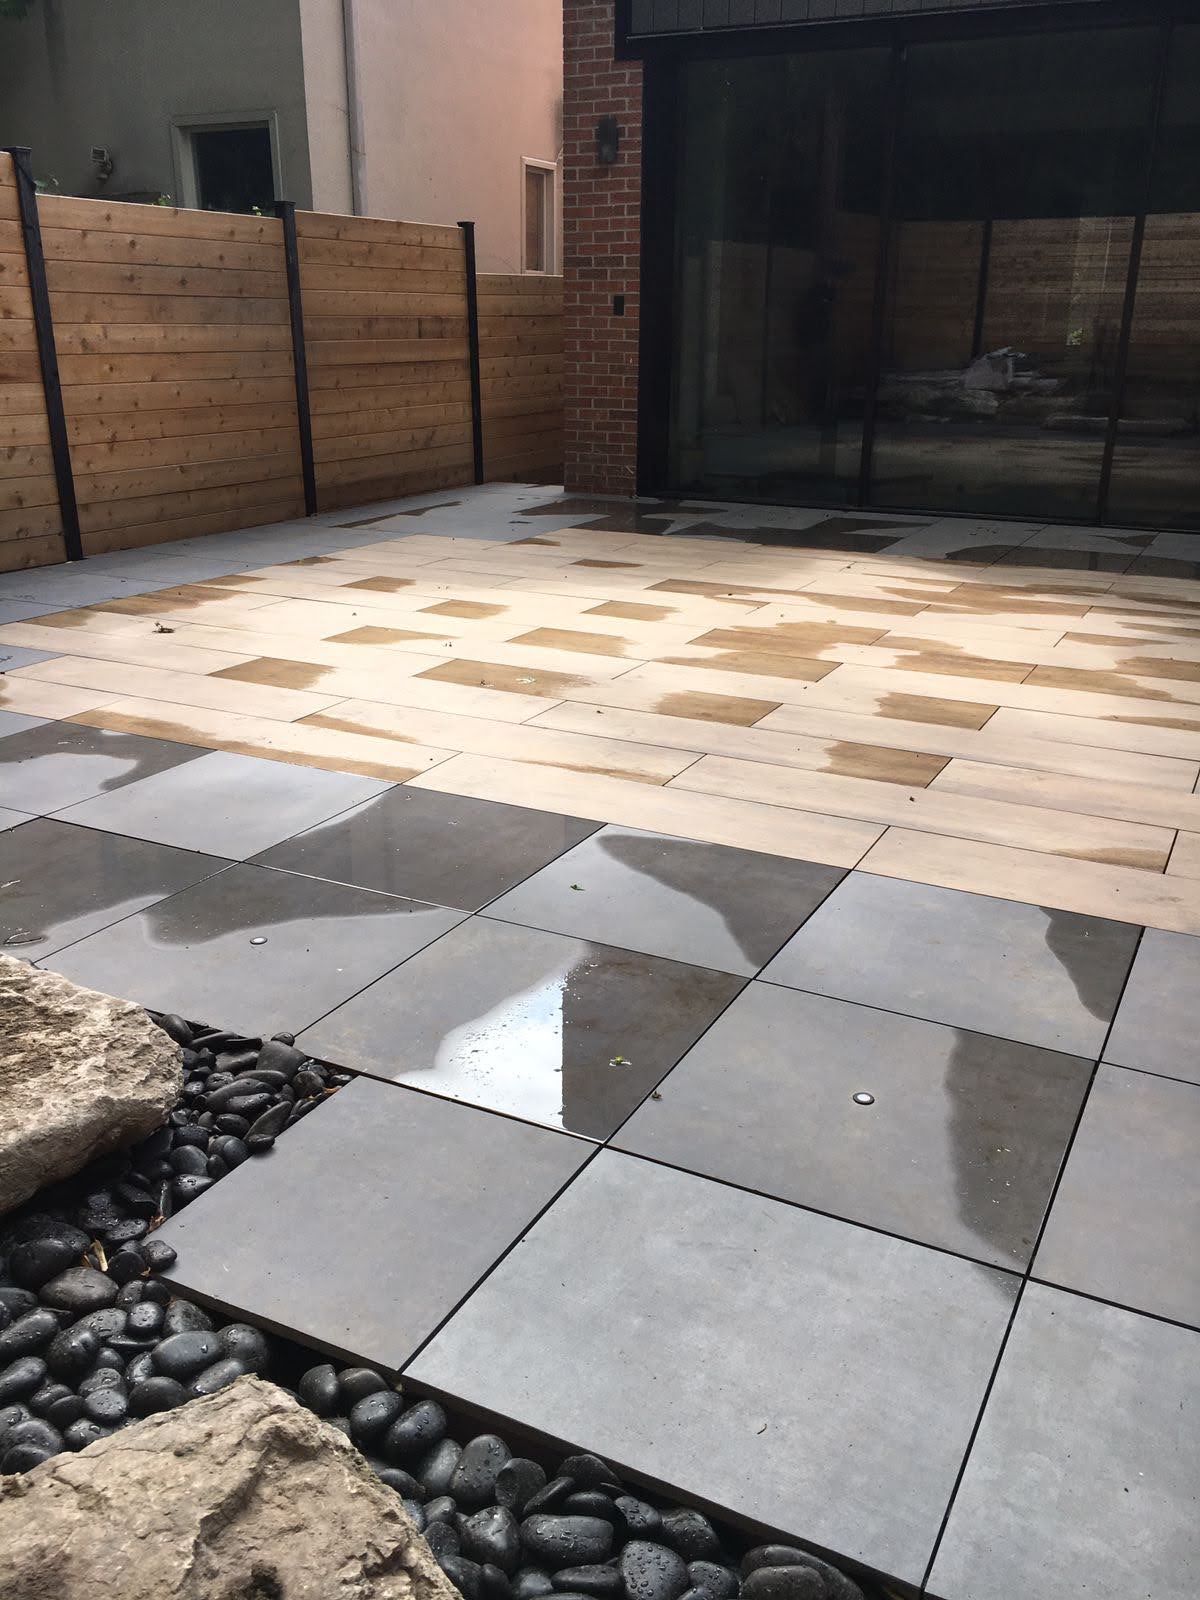
Step 5 checklist: one main material chosen · accent material or border picked · rise checked against door sill and steps · square footage measured (enter it in our flooring calculator for a ballpark).
Step 6: Add shade, light and plants, then winter-proof it
Shade and privacy
A fixed structure is more reliable than a parasol. Skyscapes is the Ontario distributor for Mr. Pergola, an aluminum bioclimatic pergola with louvres that rotate up to 90°, available freestanding or attached to the house. Check permits before you buy any pergola: in Toronto, an accessory structure larger than 10 square metres (107 sq ft), or one attached to an existing building regardless of size, needs a building permit (City of Toronto). Confirm with Toronto Building how that applies to your design.
For privacy, slatted screens filter wind better than solid panels. UK landscape architects Bowles & Wyer suggest roughly 40% open to 60% solid.

Lighting
Plan light in three layers: general light (string lights or a pergola light), task light (grill, dining table, steps) and accent light (plants, edges). Keep the colour warm and consistent. LED deck lights set into the floor come in flush, rimmed and puck styles with plug-and-play cords. They mark the edges and steps so the patio is usable after dark.
Plants and furniture
- Use large containers or a planted border to frame each zone.
- Choose weather-resistant furniture you can leave out all season.
- Leave the walkways from Step 3 clear when you add pots.
Winter
Ontario winters are hard on patio furniture. Tarps let in snow, water and animals and flap in the wind. Skyscapes offers on-site shrink-wrapping for patio furniture, BBQs, patio heaters and outdoor kitchens. The crew stacks your items on the patio, wraps them, and installs small vents to prevent condensation. More on this in the benefits of shrink-wrapping patio furniture.
Step 6 checklist: shade plan and permit check done · three layers of light · planters placed outside walkways · winter wrap booked before the first snow.

Patio makeover FAQ
How can I upgrade an old concrete patio?
If the slab is solid and drains away from the house, you can cover it with a floating floor of porcelain pavers, composite deck tiles or hardwood tiles. Skyscapes floors go on top of existing concrete, interlocking brick or decking with no demolition, at a low profile of ⅞ inch total rise.
Do I need to remove my concrete before redoing my patio?
Usually not. A solid slab with a proper slope for drainage is a good base for modular tiles. Fix pooling or badly uneven spots first. Concrete that is broken up or heaving may need repair before anything goes on top.
Can patio tiles go on grass or dirt?
Not Skyscapes tiles. The company’s FAQ says its deck tiles are not suitable on grass, dirt or sand, because the system needs a solid floor sloped for drainage. A concrete, interlock or deck base comes first.
Do I need a permit for a patio makeover in Toronto?
It depends on what you build. On the City of Toronto’s list, an uncovered deck no more than 60 cm (24 inches) above grade generally doesn’t need a permit, but enclosing a deck, porch or patio of any size does, and so does an accessory structure over 10 square metres or one attached to the house. Zoning rules apply either way. Check with Toronto Building for your project.
How long does a patio floor installation take?
Skyscapes says most patio floor installations take one day on site. The full timeline from consultation depends on product availability, so confirm your date at the consultation.
What’s the cheapest way to redo a patio?
Keep the existing base, cover it instead of replacing it, and add shade and furniture in stages. For low-cost options, see our cheap backyard patio floor ideas guide.
Get a patio makeover plan for your backyard
Skyscapes offers free in-home consultations across the GTA. We bring samples to every consultation, so you can see porcelain, composite and hardwood against your own patio, door and fence. Estimates include labour, materials and clean-up, and most patios are done 1 to 3 weeks after the consultation. Warranties run from 10 to 25 years, depending on the product, and your estimate shows the one that applies.
- Book a free in-home consultation
- Call +1 (647) 892 2527
- See our deck and patio flooring options
- Get a ballpark with the flooring calculator