Knowing how to design a rooftop patio is mostly about doing things in the right order. A roof isn’t a backyard. It has a waterproof membrane to protect, drains that have to keep working, wind that gets stronger the higher you go, and rules set by your condo board or the City. Get those right first and the fun parts (shade, lights, plants, a place to eat) fall into place.
Here are the six steps, in order:
- Check what you’re allowed to build (condo board, City, railing rules).
- Assess the roof: load, membrane, slope and drains.
- Plan zones for sun, wind and how you’ll use the space.
- Lay a floating floor on pedestals that protects the membrane.
- Add shade, wind screens and lighting.
- Plant, furnish and plan for winter.
This guide is written for Toronto and GTA rooftops, terraces and roof decks on condos, townhouses and houses. If you’d rather talk it through with someone who has seen your kind of roof before, see our rooftop outdoor flooring page or book a free in-home consultation.
Before you design a rooftop patio: approvals, measurements and budget
Spend an hour on these questions before you look at a single furniture catalogue. The answers shape every step that follows.
- Who has to say yes? Your condo board and property manager, the City, or both. (See Step 1.)
- What kind of roof is it? Membrane, concrete slab, an older deck, or an inverted roof with insulation on top of the membrane. Your building manager or roofer can tell you.
- Where are the drains, the slope and the roof hatch or door? Mark them on a sketch.
- How big is it? Measure length and width, and note any jogs, posts or equipment. Our square-footage calculator helps you turn those measurements into an area.
- How high is the railing (guard) today? Measure it from the surface you stand on now. You’ll need that number when you choose the floor.
- How will materials get up there? Service elevator, stairs, a roof hatch or a crane.
- What’s the budget, and what matters most? Rank lounging, dining, cooking, gardening and play space.
Step 1: Check what you’re allowed to build
Rules come first because they can change the whole design. Here is what applies in Ontario and Toronto.
Condo terraces and roof decks
Most private condo terraces are “exclusive-use common elements”. You get to use them, but the condo corporation owns them. The Condo Authority of Ontario explains that most changes an owner proposes need board approval and a formal agreement under section 98 of the Condominium Act, 1998. For a change to an area you have exclusive use of, such as your terrace, section 98 lets the board skip the notice to other owners only if it’s satisfied the change won’t harm other units, won’t cost the corporation anything, won’t detract from the building’s appearance and won’t affect its structure.
Whether a loose-laid floor counts as a change depends on your building, so ask your property manager early and get the answer in writing. Ask about awnings and shades at the same time: some condos’ rules ban them without the board’s written consent (for example, TSCC 2302’s rules). A floor that floats on the roof and lifts out for repairs is usually easier for a board to accept than one that’s glued, drilled or screwed down.
Houses and the City of Toronto
The City says you need a building permit to “construct a deck more than 60 centimetres (24 inches) above ground”, and that “even if a building permit is not required, compliance with the Zoning Bylaw is required” (City of Toronto, when do I need a building permit). The same page says a permit is required for any “material alteration of any building or structure”. It doesn’t spell out rooftop decks, so check with Toronto Building before you plan a new roof deck on a house. Outside Toronto, call your own city’s building department.
Railings (guards)
For buildings over three storeys (or with a building area over 600 square metres), Toronto’s property standards bylaw requires a guard at least 1,070 mm high “around each roof to which access is provided for other than maintenance” (Toronto Municipal Code, Chapter 629). On smaller residential buildings, the same chapter sets most guards at 1,070 mm too. Your new floor raises the surface you stand on, so the railing above it gets lower. A 1,070 mm guard with 50 mm of new flooring, for example, ends up 1,020 mm above the new surface. Keep that in mind in Step 4, and confirm the numbers with your property manager or a building official.
Step 1 checklist
- Ask your property manager for the rules on terrace flooring, structures, planters and BBQs.
- Ask whether you’ll need a section 98 agreement.
- House owners: check permits and zoning with the City.
- Write down the current railing height.
Step 2: Assess the roof: structure, membrane and drainage
The roof’s job is to keep water out of the building. Your design has to let it keep doing that job.
- Load. A roof is designed for a certain weight. Heavy planters full of wet soil, hot tubs and stone features add up fast. Ask your condo’s engineer or a structural engineer what the roof can carry before you plan anything heavy. Every roof is different, so there’s no safe general number.
- Membrane age and condition. If the roof is due for repair in the next few years, do that first, or choose a floor that lifts out so roofers can get to the membrane.
- Slope and drains. Roofs slope towards drains on purpose. Don’t fight the slope. Keep the drains reachable for cleaning.
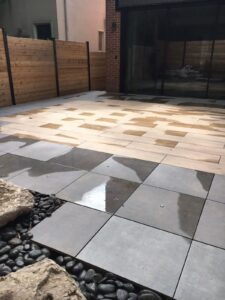
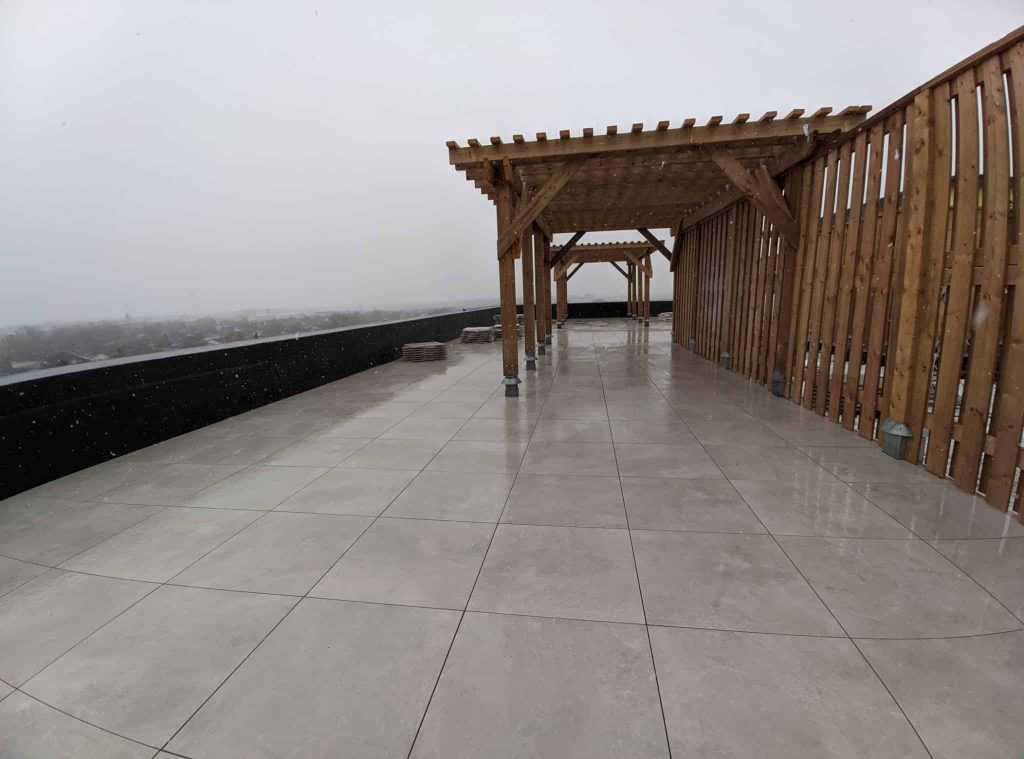
- Inverted roofs. Many newer condos put rigid insulation on top of the membrane. On two developer projects, Valleymede in Markham and the South Park townhome rooftops in Thornhill, Skyscapes installed 2 cm porcelain pavers right on the insulation. The pavers, at about 9 lbs per square foot, hold the insulation down while water drains below, and they lift out so drains can be cleaned and the membrane inspected (Skyscapes recent projects).
- Equipment and access. Note vents, HVAC units, hose bibs and outlets. These become the “service zone” in Step 3.
Step 2 checklist
- Ask about load limits before you plan heavy features.
- Find out how old the membrane is and when it’s due for repair.
- Mark the drains, slope direction and any equipment on your sketch.
Step 3: Plan zones for sun, wind and how you’ll use it
Good rooftop patio design starts with zones. Divide the space by what you’ll do there, then place each zone where the sun and wind suit it.
- Lounge: the sunniest spot, with the best view.
- Dining: close to the door, ideally with shade. A landscape designer quoted by Houzz suggests an extra 3 ft of space on every side of the dining table (Houzz, key outdoor layout measurements).
- Cooking: the same article suggests 4 ft clear in front of a grill. Check your condo’s BBQ rules first. The TSSA, Ontario’s fuel-safety regulator, says BBQs may be banned by your municipality or condo bylaws. Where a propane BBQ is allowed on a balcony, the balcony must be open, the cylinder stays on it connected to the BBQ, and the cylinder’s relief valve must be at least 1 metre horizontally from any building opening below it and 3 metres from a building air intake (TSSA BBQ safety).
- Garden or green zone: along walls and in corners, where it’s out of the strongest wind.
- Service zone: drains, hatches and equipment stay clear and reachable.
- Walkways: allow at least 3 ft where people walk most, such as the path from the door (Houzz).
Spend a few minutes up there at different times of day. Note where the sun sits at dinner time and which corners and edges catch the wind.
Step 3 checklist
- Draw your zones on the sketch from Step 2.
- Mark the sunny, shady and windy spots.
- Keep a clear path from the door and around the drains.
Already know your layout? We bring our full collection of flooring samples to your home, and our estimates include labour, materials and clean-up (Skyscapes FAQ). Book your free rooftop consultation.
Step 4: Lay the foundation with a floating rooftop floor
The floor is the biggest decision in your rooftop design. It’s the part that’s hardest to change later, it sits right on top of the membrane, and it sets the colour palette for everything else.
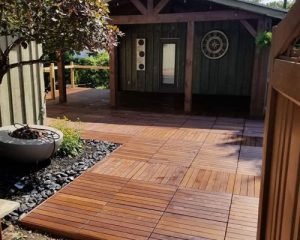
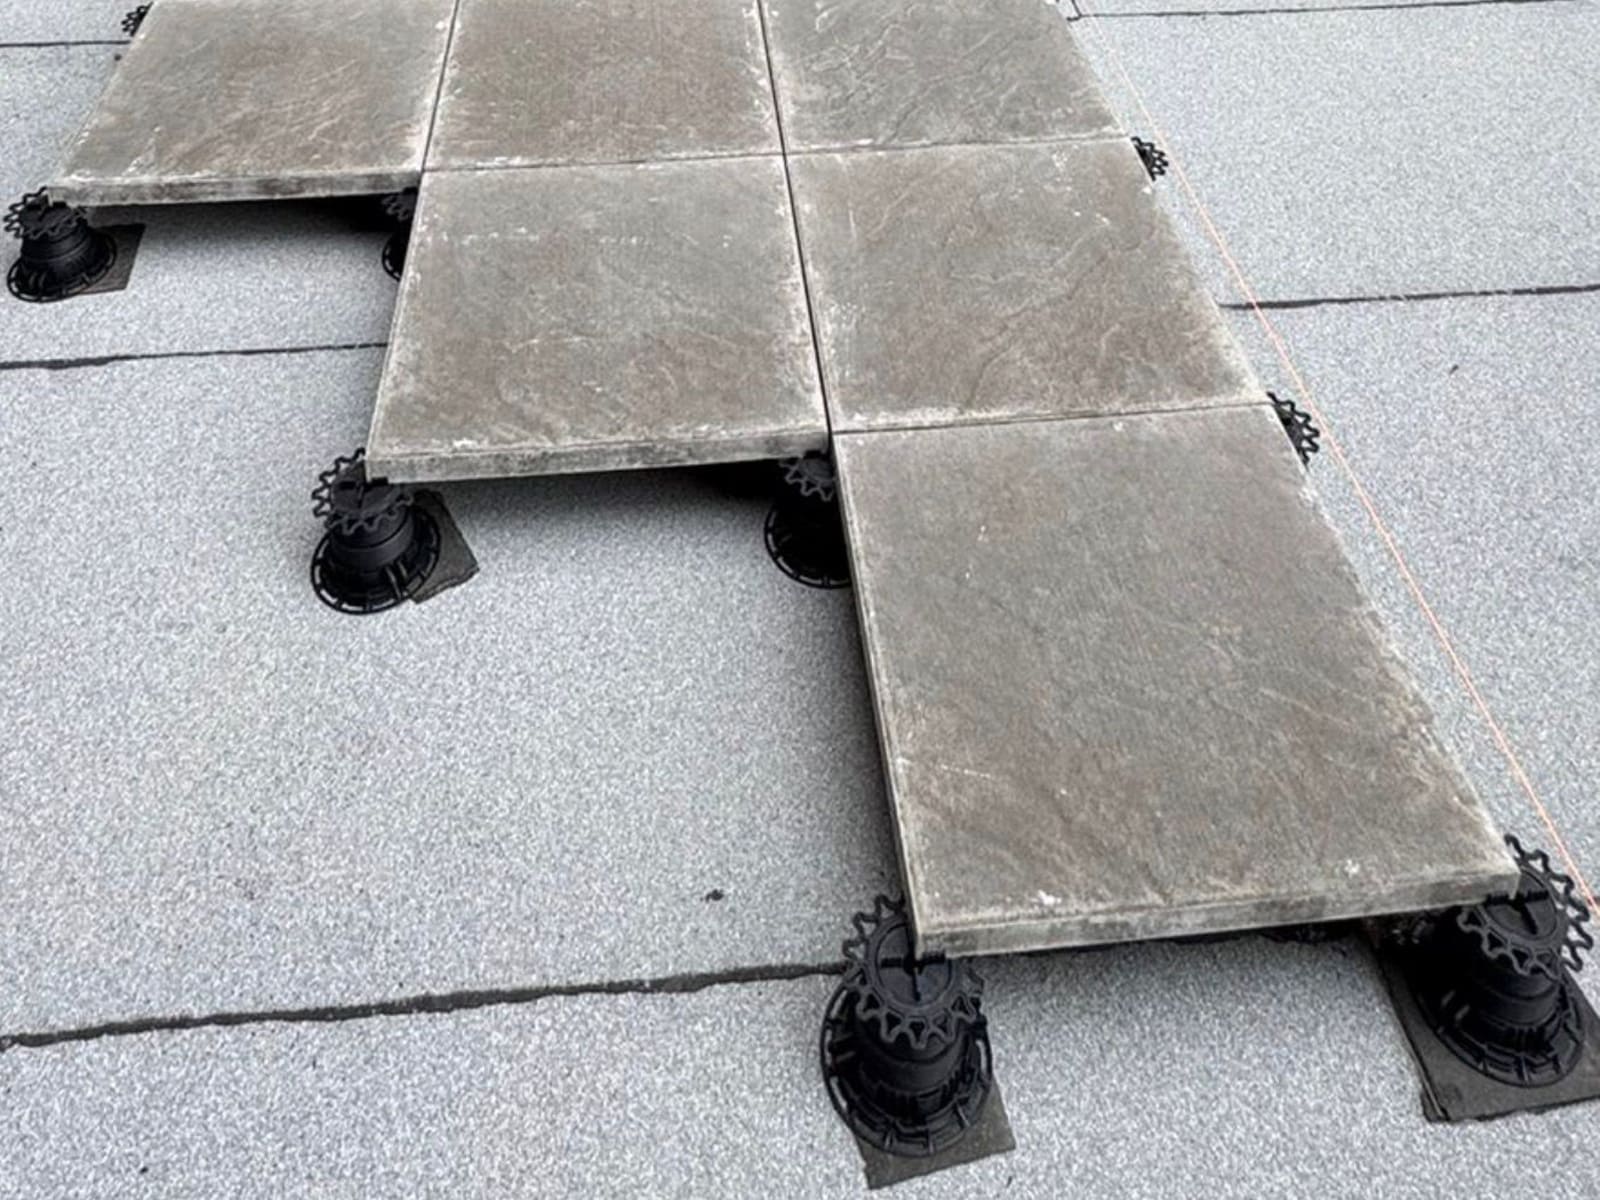
On most rooftops the best answer is a floating floor: pavers or tiles that rest on pedestals instead of being glued, nailed or screwed down. Skyscapes installs its rooftop pavers on VersiJack® and SpiraPave® adjustable pedestals, with “no glue, nails, grout, or staples necessary” (Skyscapes rooftop flooring). That page explains what this does for a rooftop:
- It creates an even deck over “cracked, sloped, or uneven” roofs, membrane roofs, sloped asphalt and existing decks.
- It doesn’t damage the roof membrane, and the tiles are “easy to remove for roof or patio maintenance”.
- The base “allows for water, dirt, and snow to drain”.
- Wires and hoses can be hidden under the floor.
Fixed or adjustable pedestals?
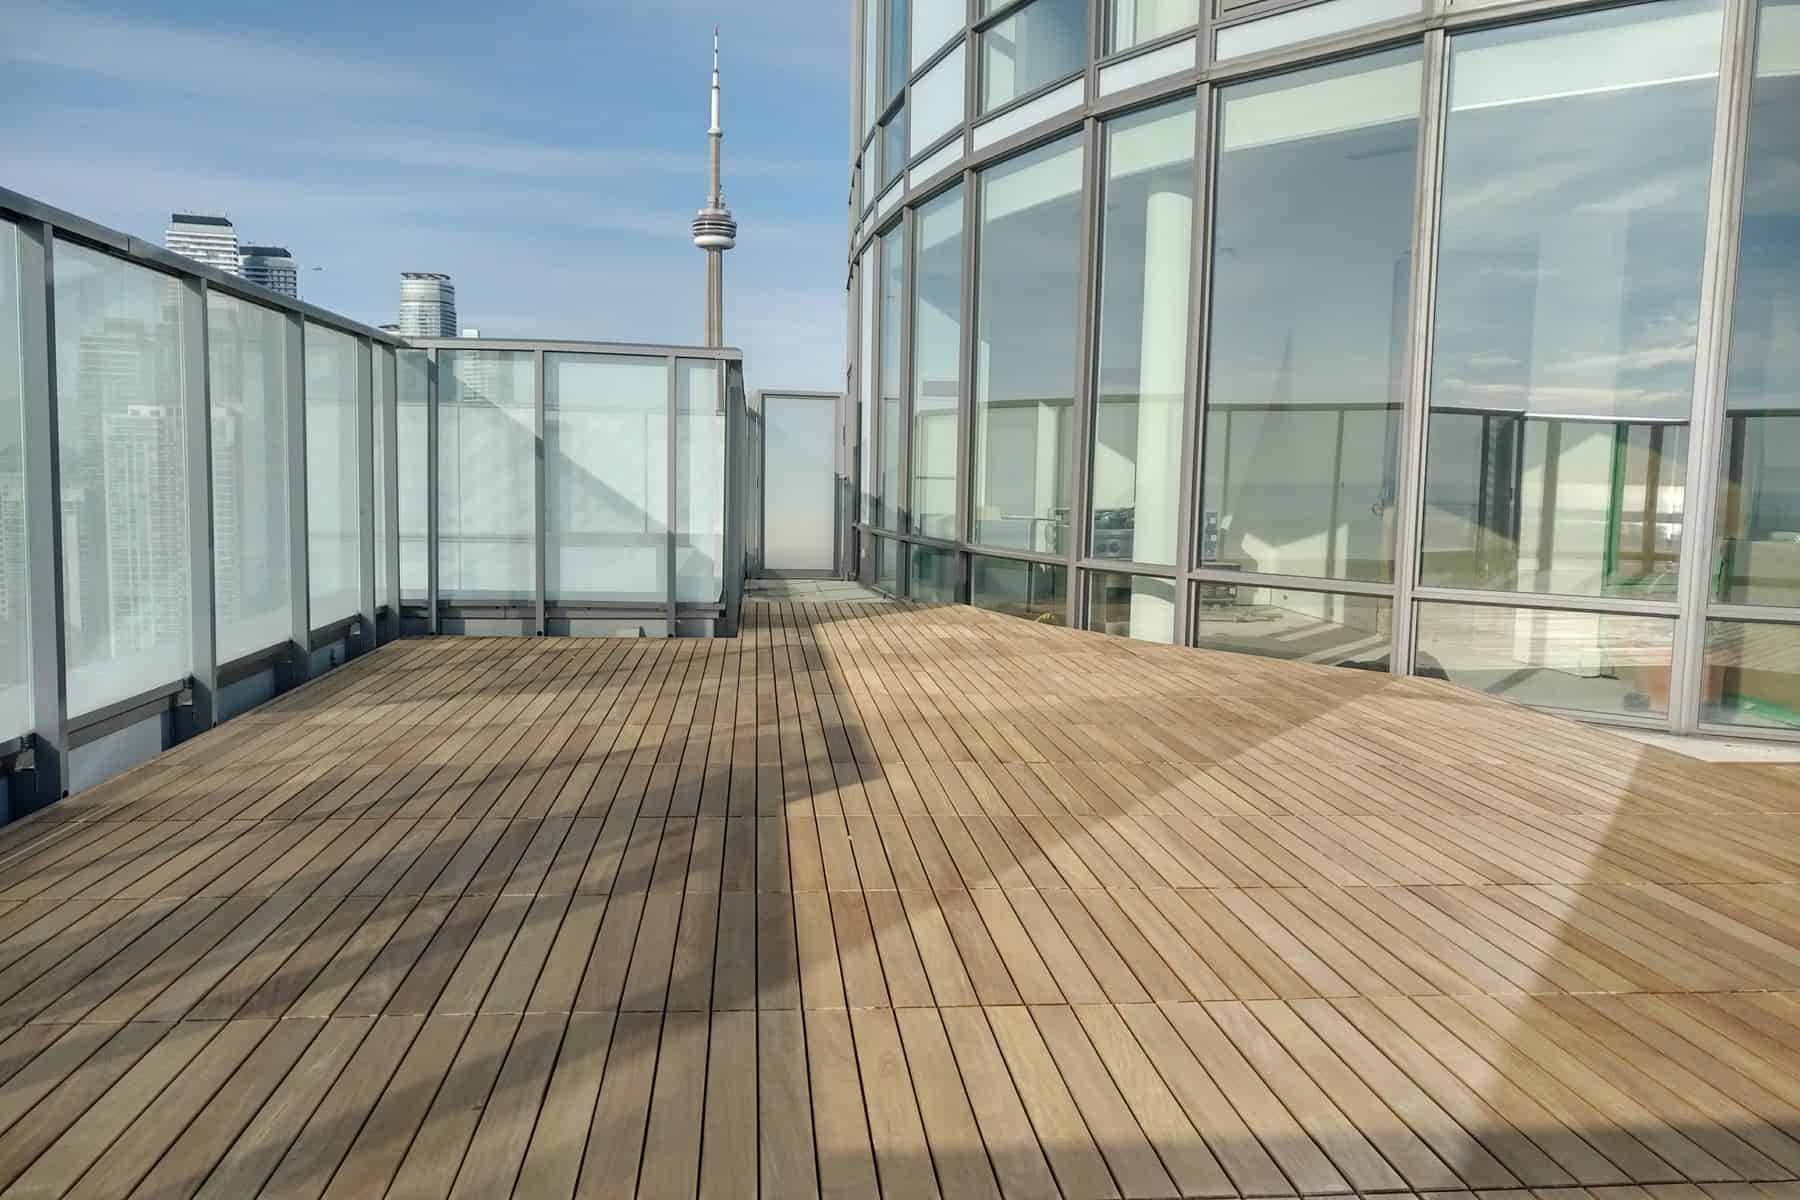
Fixed-height pedestals suit roofs where the gap between the lowest point and the finished floor “will not surpass 4 inches”. Adjustable pedestals go higher, up to 42 inches (Skyscapes pedestals). Lower is often better because of the railing rule in Step 1. On the condo common area at TIFF Lighthouse, Festival Tower (80 John Street), Skyscapes used 2×2 ft ipe pavers on fixed-height pedestals “to ensure the railing height bylaw code was maintained” (recent projects).
Choosing the surface
| Surface | Look | Upkeep | Good to know |
|---|---|---|---|
| 2 cm porcelain pavers | Clean and modern; wood-look and stone-look colours | “Stain, scratch, and fade resistant” | Low profile, which helps with door thresholds and railing height. At about 9 lbs per square foot, heavy enough to hold down insulation on inverted roofs. |
| Ipe wood pavers | Warm, natural hardwood | Fades naturally with sun and weather. Oiling keeps the colour but isn’t needed for strength (FAQ). | 2×2 or 2×4 ft pavers on pedestals, “completely removable to access membrane below”. |
| Composite deck tiles | Wood-grain look in several colours | Low maintenance | Interlocking tiles for a firm, flat surface such as a concrete terrace. Ask whether they suit your roof. |
| Artificial turf | Green lawn look | No watering or mowing | Laid on removable panels, “not glued or fastened”. A good pet or play zone next to pavers. |
Want to compare more looks, colours and layouts before you decide? Browse our rooftop flooring ideas. For high floors and exposed corners, ask for a pedestal system that’s rated for wind. Skyscapes used a wind-uplift system with its porcelain pavers at Auberge on the Park, a Tridel condo project (recent projects).
Step 4 checklist
- Pick the surface for each zone (for example, porcelain for dining and turf for the dog).
- Confirm the finished floor height against the railing and the door threshold.
- Ask how tiles lift out for drain cleaning and roof repairs.
- Ask about wind on high or exposed roofs.

Step 5: Add shade, privacy and lighting
Rooftops get full sun and full wind. Shade and screening make the space usable on a hot July afternoon, and lighting makes it usable after dark.
Shade and wind
- Prefer fixed shade to umbrellas. Parasols blow around in high winds. Landscape architects suggest screens fixed to pergolas, or shade sails that retract when the wind is too strong (Bowles & Wyer, landscape architects).
- Use slatted screens, not solid walls. The same source suggests screens about 40% open and 60% solid. A slatted screen shelters a longer stretch behind it than a solid panel, which creates more turbulence.
- Plan the fixings early. Anything that’s bolted down can puncture the membrane. Ask your building or roofer how a pergola or screen will be anchored or weighted before you buy it.
- Skyscapes is the Ontario distributor for Mr. Pergola aluminum pergolas, with louvres that rotate to let sun in or keep rain off. Ask during your consultation whether one suits your roof.

Lighting
- Use more than one kind of light: soft overall light (string lights), light where you work (dining table, grill, steps) and accent light (planters, edges).
- Choose warm white, 2700K to 3000K, keep every fixture in a zone the same colour temperature, and put lights on dimmers (Mod Lighting, how to layer outdoor lighting).
- Build lights into the floor. Skyscapes’ LED deck lights come as flush, rimmed or puck lights with plug-and-play cords, and the floating floor hides the wiring underneath.
Step 5 checklist
- Choose shade for the dining zone.
- Choose slatted screens for windy edges.
- Confirm how any structure is anchored.
- Plan the lighting layers and where the cords will run.
Step 6: Plant, furnish and plan for winter
Plants
- Use a light potting mix, not garden soil, in pots with good drainage holes. Bigger plants need bigger containers (Toronto Master Gardeners, container gardening).
- Group pots together (Toronto Master Gardeners), against walls and in corners, out of the strongest wind.
- Water early in the morning or late in the afternoon so it doesn’t evaporate too quickly. Screens or panels can cut sun and wind at the hottest time of day (Toronto Master Gardeners).
- Keep planters, benches and other things kids can climb away from the railing. Toronto’s code says nothing between 140 mm and 900 mm above the floor should “facilitate climbing” a guard (Chapter 629).
Furniture
- Choose heavier, weather-resistant pieces. Some Toronto condos’ rules require outdoor items to be secured against high winds (for example, TSCC 2302’s rules). Check your building’s rules.
- Measure before you buy. A deep sofa and a coffee table need about 24 inches between them (Houzz).
Winter
- A floating floor lets melting snow drain through the base.
- Shrink-wrap the BBQ, heaters and furniture instead of using a tarp. Skyscapes’ shrink-wrapping service seals items tightly to stop them lifting in the wind, and adds small vents to prevent condensation.
- If you chose ipe, clean and oil it once a year to keep its deep colour, or book Skyscapes’ wood oiling service. Oiling is for looks, not protection.

Step 6 checklist
- Choose a light potting mix and big pots for big plants.
- Keep the railing zone clear.
- Book winter wrapping before the first snow.
How a Skyscapes rooftop project works
- Free in-home consultation. We see the space with you and bring our full collection of flooring samples.
- Design, if you want it. Our rendering process goes from a mood board to a rendering of your space with your chosen tiles and add-ons, such as lights, planters, river rocks and turf.
- Written quote. It includes labour, materials and clean-up. “The price you get in your estimate is the price you pay” (FAQ).
- Installation. “Most floating floor rooftop installations take our experts one day,” and a new rooftop usually takes 1 to 3 weeks from consultation to completion (rooftop flooring).
Looking for more reading? See our guides to outdoor decking on roofs and terrace flooring on a budget.
Rooftop patio design FAQ
Can my roof support a rooftop patio?
It depends on how the roof was designed. For scale, Skyscapes’ 2 cm porcelain pavers weigh about 9 lbs per square foot. Large planters full of wet soil, hot tubs and stone features can add much more in one spot. Ask your condo’s engineer or a structural engineer before you plan anything heavy.
Do I need a permit for a rooftop patio in Toronto?
The City requires a permit for a deck more than 60 cm (24 inches) above ground or any material alteration of a building, and zoning rules apply even when no permit is needed. The City’s guidance doesn’t address rooftop decks directly, so check with Toronto Building. In a condo, you also need your board’s approval, and possibly a section 98 agreement.
How do you protect the roof membrane?
Use a floating floor. Skyscapes’ rooftop pavers sit on pedestals with no glue, nails, grout or staples, so the membrane isn’t touched. Water, dirt and snow drain underneath, and the tiles lift out when the roof needs repairs.
Will raising the floor affect my railing height?
It can. Railing height is measured from the surface you walk on, so a higher floor leaves a lower railing. Low-profile pavers and fixed-height pedestals keep the rise small. Confirm the finished height with your property manager or a building official.
How long does a rooftop flooring installation take?
Skyscapes says most floating rooftop floors take one day to install, and a new rooftop usually takes 1 to 3 weeks from the in-home consultation to completion.
What happens to a rooftop floor in winter?
The base lets snow and meltwater drain through. Shrink-wrap the furniture and BBQ so they stay clean and dry all winter. If you have ipe, you can oil it once a year to keep its colour.
Start your rooftop design with a free consultation
You’ve got the plan. Now see the floor on your own roof. Skyscapes offers free in-home consultations across the GTA, brings its full collection of flooring samples to your home, and installs most floating rooftop floors in a day. Warranties run from 10 to 25 years, depending on the product, and your estimate shows the one that applies.